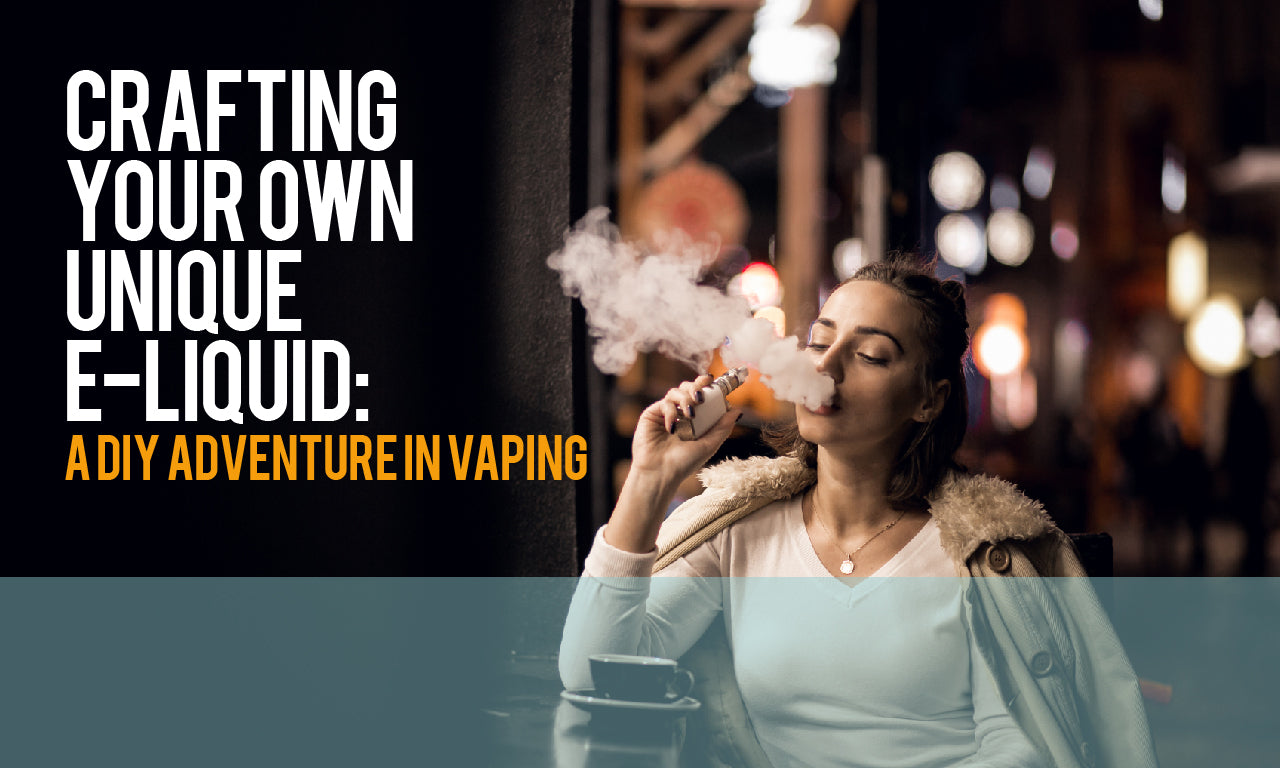
Crafting Your Own Vaping Experience: A Guide to DIY E-Liquid
Related Articles: Crafting Your Own Vaping Experience: A Guide to DIY E-Liquid
Introduction
With enthusiasm, let’s navigate through the intriguing topic related to Crafting Your Own Vaping Experience: A Guide to DIY E-Liquid. Let’s weave interesting information and offer fresh perspectives to the readers.
Table of Content
Crafting Your Own Vaping Experience: A Guide to DIY E-Liquid

The world of vaping offers a vast spectrum of flavors and experiences, and for many enthusiasts, the journey extends beyond simply purchasing pre-made e-liquids. Creating your own e-liquid allows for unparalleled customization, ensuring a vaping experience that perfectly aligns with individual preferences. This guide provides a comprehensive overview of the process, from understanding the key ingredients to mastering the art of blending.
Understanding the Components of E-Liquid
E-liquid, the substance vaporized in electronic cigarettes, is a carefully balanced mixture of several key components:
-
Base: This forms the foundation of the e-liquid, typically consisting of a blend of propylene glycol (PG) and vegetable glycerin (VG).
- Propylene Glycol (PG): Known for its thin viscosity and ability to carry flavor effectively, PG provides a stronger throat hit and a more pronounced taste.
- Vegetable Glycerin (VG): This viscous, sweet liquid produces large clouds of vapor and offers a smoother throat hit.
- PG/VG Ratio: The ratio of PG to VG directly impacts the vaping experience. A higher PG ratio (e.g., 70/30 PG/VG) results in a stronger throat hit and more intense flavor, while a higher VG ratio (e.g., 30/70 PG/VG) produces thicker clouds and a smoother experience.
-
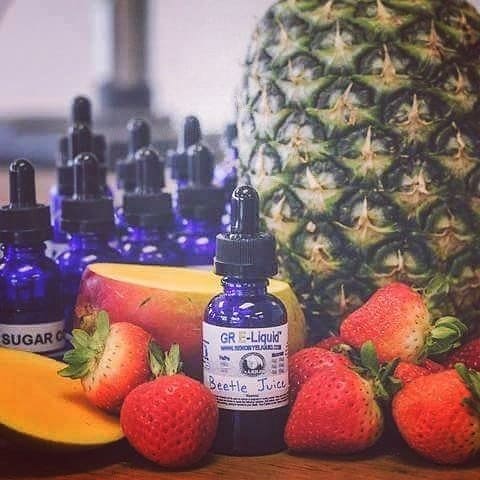
Flavorings: These are the key ingredients that give e-liquid its distinct character. Flavorings are available in a wide array of options, from classic tobacco and fruit flavors to more complex and nuanced blends.
- Concentrate Type: Flavorings are typically available in concentrated form, requiring dilution with the base before use.
- Flavor Strength: Flavorings are measured in percentages, with higher percentages typically indicating stronger flavors.
-
Nicotine (Optional): For those seeking the familiar nicotine hit associated with traditional cigarettes, nicotine is added to the e-liquid.
- Nicotine Strength: Nicotine is measured in milligrams per milliliter (mg/mL) and ranges from 0 mg/mL (nicotine-free) to high concentrations.
- Nicotine Salts: These are a newer form of nicotine, offering a smoother throat hit and faster absorption.
Essential Equipment and Safety Considerations
Creating your own e-liquid requires a minimal yet essential set of equipment:
- Measuring Equipment: Accurate measuring is crucial for achieving consistent results. Invest in graduated cylinders, droppers, or syringes for precise measurement of ingredients.
- Mixing Bottles: Glass or plastic bottles with airtight lids are ideal for mixing and storing e-liquid.
- Gloves and Safety Glasses: Handling concentrated flavorings and nicotine requires proper safety precautions. Wear gloves to protect your skin and safety glasses to shield your eyes from potential splashes.
- Ventilation: Ensure adequate ventilation during the mixing process, as concentrated flavorings can release volatile compounds.
The Mixing Process: A Step-by-Step Guide
- Preparation: Before embarking on the mixing process, gather all necessary ingredients, equipment, and safety gear.
- Base Preparation: In a clean mixing bottle, combine the desired ratio of PG and VG.
- Flavoring Addition: Add the desired amount of flavor concentrate to the base, carefully considering the flavor strength and your personal preference.
- Nicotine Addition (Optional): If adding nicotine, carefully measure the desired concentration and add it to the mixture.
- Mixing and Steeping: Thoroughly shake the mixture to ensure all ingredients are evenly distributed. Allow the e-liquid to steep for a period of time (typically 2-3 days) to allow the flavors to fully develop and meld.
Tips for Optimizing Your E-Liquid
- Experimentation: Don’t be afraid to experiment with different flavor combinations and PG/VG ratios to find your perfect vaping experience.
- Steeping Techniques: Explore different steeping techniques, such as using a heat source or shaking the mixture vigorously, to accelerate the flavor development process.
- Flavoring Considerations: Consider the flavor profile of the chosen flavorings and how they will interact with each other.
- Nicotine Adjustment: Start with a lower nicotine concentration and gradually increase it to find your ideal level.
FAQs on DIY E-Liquid
Q: How long does homemade e-liquid last?
A: Homemade e-liquid can typically last for several months if stored properly in a cool, dark place away from direct sunlight. However, the shelf life can vary depending on the ingredients and storage conditions.
Q: Can I use food-grade flavorings in my e-liquid?
A: Food-grade flavorings are not typically suitable for vaping as they may contain ingredients that are not safe for inhalation. Always use flavorings specifically designed for e-liquid.
Q: What are the benefits of making my own e-liquid?
A: Creating your own e-liquid offers several advantages:
- Customization: It allows you to tailor the flavor, nicotine strength, and PG/VG ratio to your exact preferences.
- Cost Savings: Making your own e-liquid can be significantly cheaper than purchasing pre-made e-liquids, especially in the long run.
- Control over Ingredients: You have complete control over the ingredients used, ensuring quality and safety.
Conclusion
Creating your own e-liquid is an enriching and rewarding experience that allows you to personalize your vaping journey. By understanding the key ingredients, following a safe and meticulous mixing process, and experimenting with different flavor combinations, you can craft e-liquids that perfectly match your individual tastes and preferences. This journey of exploration and experimentation can lead to a deeper appreciation for the art of vaping and unlock a world of flavor possibilities.


Closure
Thus, we hope this article has provided valuable insights into Crafting Your Own Vaping Experience: A Guide to DIY E-Liquid. We thank you for taking the time to read this article. See you in our next article!