Crafting Your Own Vaping Experience: A Guide to DIY Vape Juice Recipes
Related Articles: Crafting Your Own Vaping Experience: A Guide to DIY Vape Juice Recipes
Introduction
With enthusiasm, let’s navigate through the intriguing topic related to Crafting Your Own Vaping Experience: A Guide to DIY Vape Juice Recipes. Let’s weave interesting information and offer fresh perspectives to the readers.
Table of Content
Crafting Your Own Vaping Experience: A Guide to DIY Vape Juice Recipes
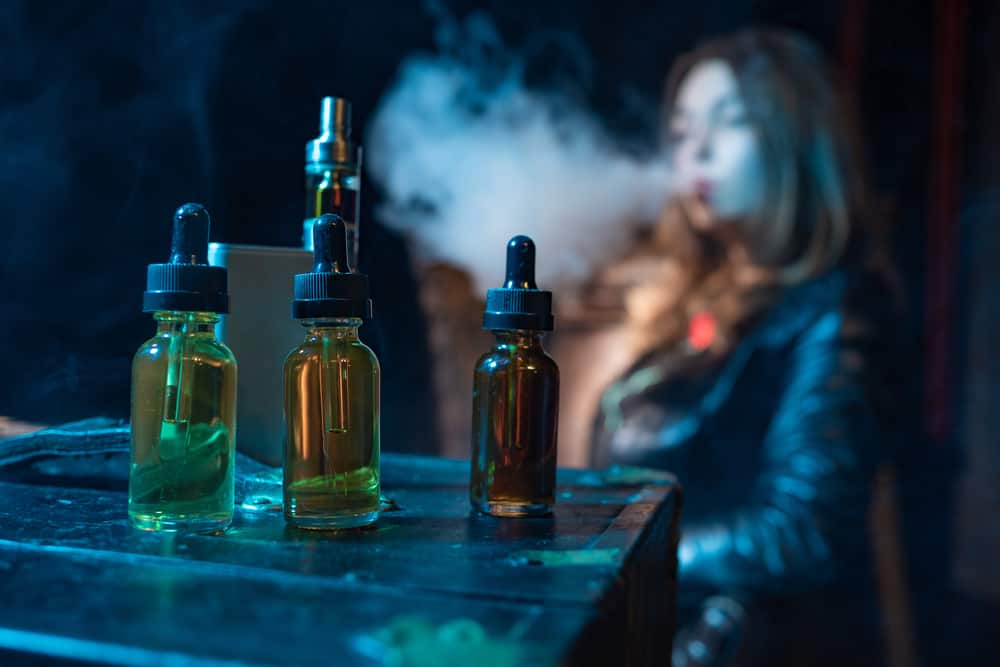
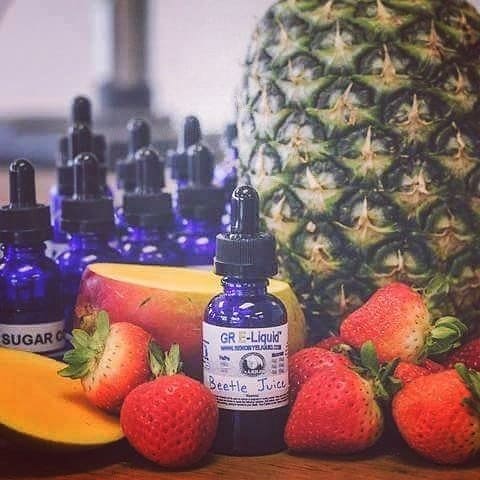
The world of vaping offers a vast spectrum of flavors and experiences, and for many enthusiasts, the journey goes beyond simply purchasing pre-made e-liquids. DIY vape juice recipes present an opportunity to personalize the vaping experience, crafting unique blends tailored to individual preferences. This practice, known as "mixing," allows vapers to control the ingredients, ratios, and ultimately, the flavor profile of their e-liquid.
This guide delves into the intricacies of DIY vape juice recipes, providing a comprehensive understanding of the process, its benefits, and essential considerations.
Understanding the Fundamentals
DIY vape juice recipes primarily involve combining four key components:
- Base: This forms the foundation of the e-liquid, typically composed of Propylene Glycol (PG) and Vegetable Glycerin (VG). These liquids serve as carriers for the flavorings and nicotine. PG offers a thinner consistency, resulting in a stronger throat hit and quicker absorption, while VG produces denser vapor and a smoother experience.
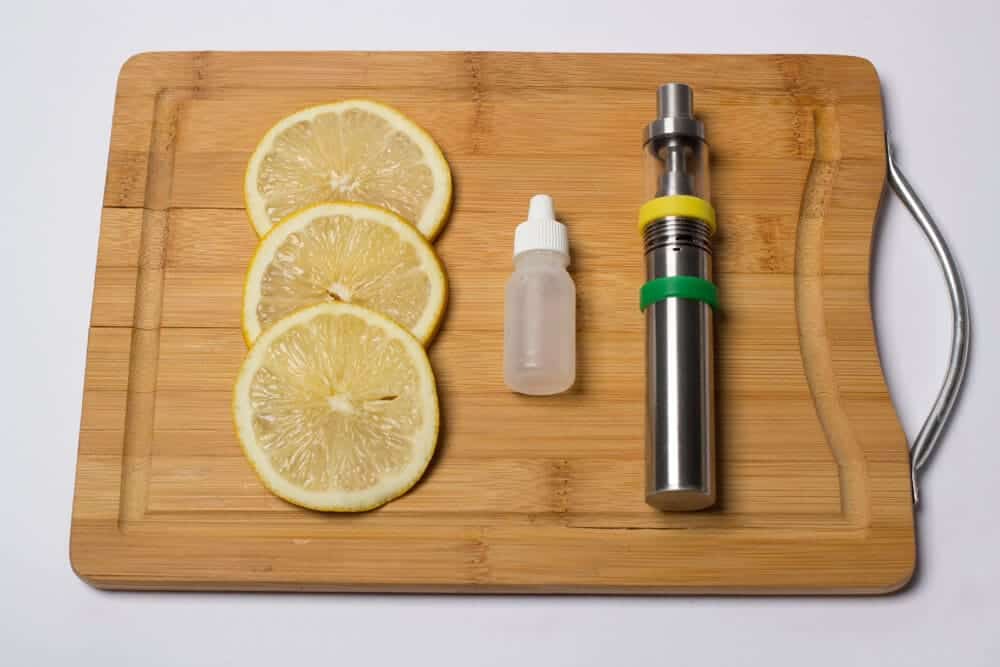
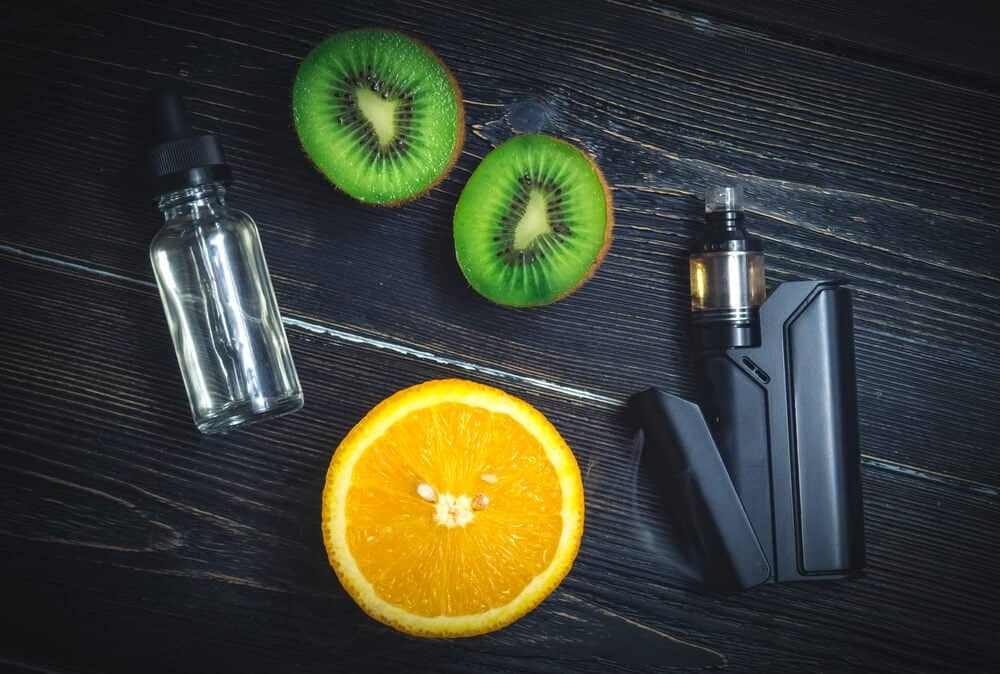
- Flavorings: These are concentrated extracts that impart the desired flavor profile to the e-liquid. They come in a vast array of options, from fruity and dessert-inspired to tobacco and menthol.
- Nicotine: This is an optional ingredient, and its inclusion depends on the vaper’s preference. Nicotine strength is measured in milligrams per milliliter (mg/ml).
- Distilled Water: This is a crucial ingredient, particularly for beginners, as it helps to dilute the concentrated flavorings, preventing harshness and ensuring a smoother vaping experience.
The Advantages of DIY Vaping
Beyond the creative freedom, DIY vape juice recipes offer several advantages:
- Cost Savings: Mixing your own e-liquid can be significantly more cost-effective than purchasing pre-made e-liquids, especially for regular vapers.
- Customization: DIY provides complete control over the flavor profile, nicotine strength, and VG/PG ratio, allowing for personalized vaping experiences.
- Ingredient Control: By mixing your own e-liquid, you know exactly what goes into your vape, ensuring the absence of unwanted additives or chemicals.
- Experimentation: DIY opens the door to endless possibilities for experimentation, creating unique flavor combinations and exploring different vaping styles.
Essential Equipment and Safety Considerations
Before embarking on the DIY journey, it is crucial to gather the necessary equipment and prioritize safety:
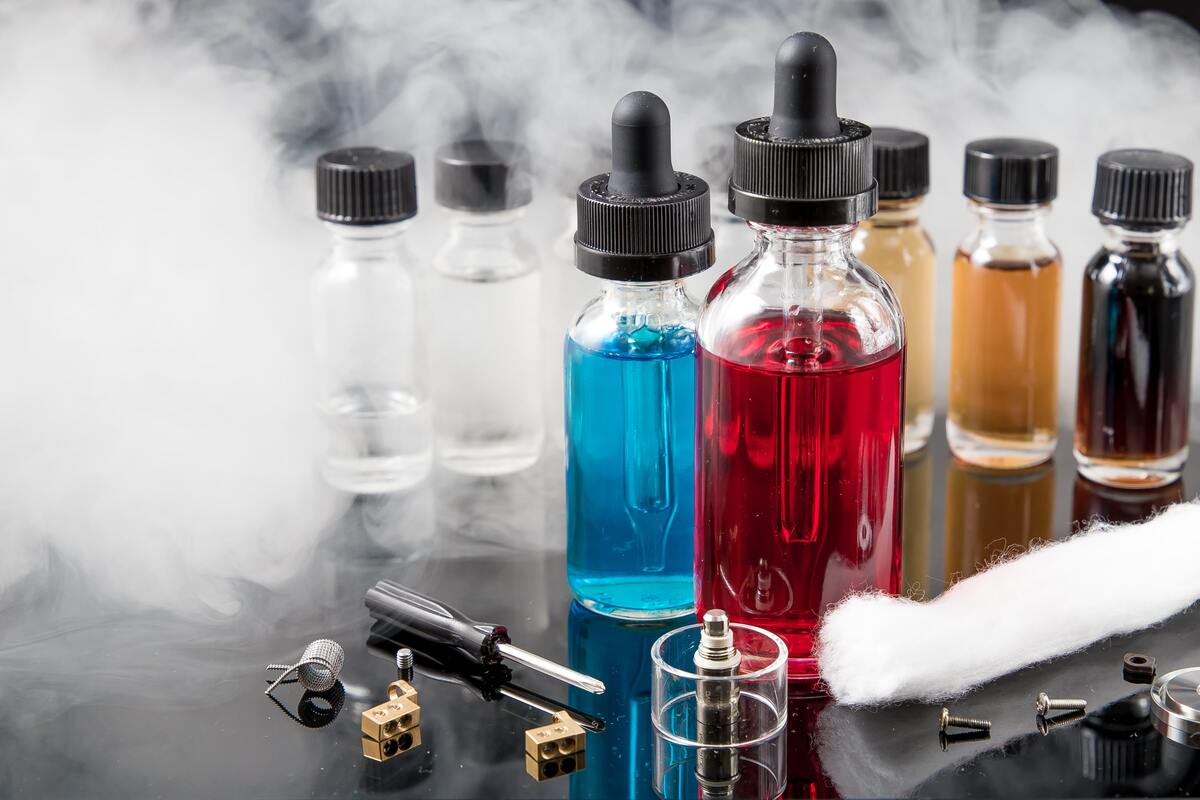
- Scales: Precision is paramount in mixing. A digital scale capable of measuring in milligrams is essential for accurate ingredient measurements.
- Graduated Cylinders: These are used to measure liquids accurately, particularly for larger batches.
- Bottles and Droppers: Various sizes of bottles and droppers are needed for storing, mixing, and dispensing the e-liquid.
- Gloves and Mask: These are essential for handling nicotine and flavorings, protecting the skin and respiratory system from potential exposure.
- Well-Ventilated Area: Mixing should always be done in a well-ventilated area to minimize exposure to potentially harmful vapors.
- Proper Storage: Store the finished e-liquid in airtight containers, away from direct sunlight and heat.
Crafting Your First Recipe: A Step-by-Step Guide
- Choose Your Base: Determine the desired VG/PG ratio. A common starting point is a 70/30 VG/PG blend for a balance of vapor production and throat hit.
- Select Flavorings: Choose your desired flavorings, considering the flavor profile and intensity you seek. Start with small quantities, as it is easier to add more than to remove.
- Determine Nicotine Strength: If using nicotine, decide on the desired strength. Beginners may opt for a lower strength and gradually increase it as needed.
- Calculate Ingredients: Use a vape juice recipe calculator to determine the precise quantities of each ingredient based on your desired batch size and strength.
- Prepare the Mix: In a clean bottle, add the base, flavorings, and nicotine (if using) in the calculated quantities.
- Shake and Steep: Shake the bottle thoroughly to mix the ingredients. Allow the e-liquid to steep for a period of time (typically a few days to a week) to allow the flavors to meld and mature.
Troubleshooting Common Issues
- Harshness: If the e-liquid is too harsh, it could be due to excessive flavoring, a high PG ratio, or insufficient steeping time.
- Thin Vapor: A low VG ratio or inadequate wattage on the vaping device can result in thin vapor.
- Separation: Some flavorings may separate over time. Shaking the bottle thoroughly before use should resolve this issue.
FAQs about DIY Vape Juice Recipes
Q: What are the best resources for finding vape juice recipes?
A: Numerous online resources, forums, and communities dedicated to DIY vaping provide a wealth of recipes and inspiration. Popular websites include e-liquid-recipes.com, DIY e-liquid, and Reddit’s r/DIY_eJuice forum.
Q: What are the safety precautions when mixing vape juice?
A: Handling nicotine and flavorings requires caution. Wear gloves and a mask, mix in a well-ventilated area, and avoid contact with eyes and mouth.
Q: How long does it take for vape juice to steep?
A: Steeping times vary depending on the recipe and flavorings. Generally, a few days to a week is sufficient for most blends.
Q: Can I use food-grade flavorings for vape juice?
A: While some food-grade flavorings may be suitable for vaping, it is crucial to ensure they are specifically designed for inhalation and free from harmful chemicals.
Q: How do I dispose of old or unused vape juice?
A: Dispose of e-liquid responsibly. Contact your local waste management authority for proper disposal procedures.
Tips for Beginners
- Start Simple: Begin with basic recipes and gradually experiment with more complex blends.
- Use High-Quality Ingredients: Invest in premium base liquids and flavorings for optimal results.
- Follow Recipes Carefully: Adhere to the recommended ratios and measurements for consistent results.
- Be Patient: Allow the e-liquid to steep properly for the flavors to develop fully.
- Join Online Communities: Connect with other DIY vapers for advice, inspiration, and troubleshooting support.
Conclusion
DIY vape juice recipes offer a rewarding and customizable path for vaping enthusiasts. By mastering the fundamentals, adhering to safety protocols, and embracing the creative process, individuals can craft unique and satisfying vaping experiences. The journey of mixing your own e-liquid is an ongoing exploration, offering endless possibilities for experimentation and flavor discovery.

.jpg)


Closure
Thus, we hope this article has provided valuable insights into Crafting Your Own Vaping Experience: A Guide to DIY Vape Juice Recipes. We thank you for taking the time to read this article. See you in our next article!