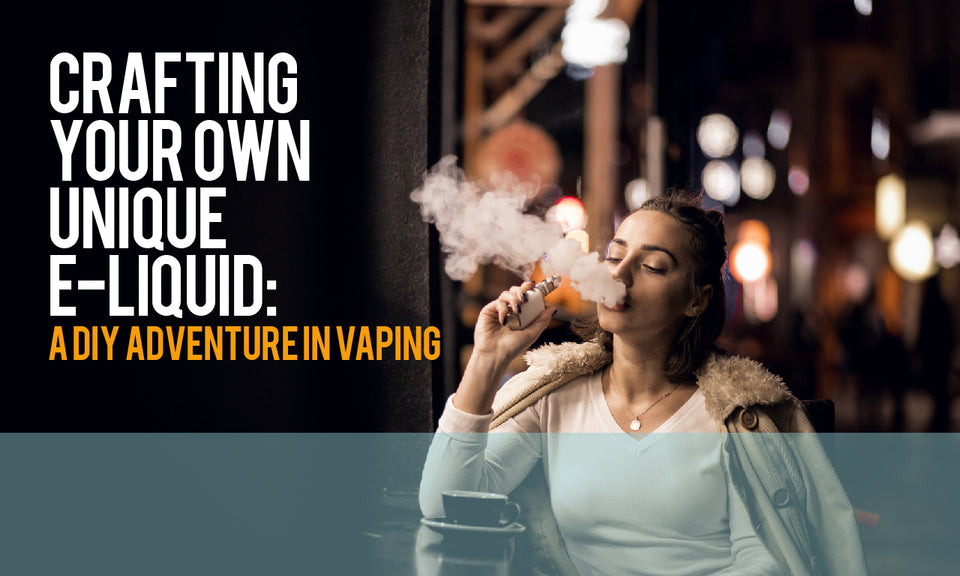
The Art and Science of Crafting Your Own Vaping Experience: A Comprehensive Guide to DIY E-Liquid
Related Articles: The Art and Science of Crafting Your Own Vaping Experience: A Comprehensive Guide to DIY E-Liquid
Introduction
With great pleasure, we will explore the intriguing topic related to The Art and Science of Crafting Your Own Vaping Experience: A Comprehensive Guide to DIY E-Liquid. Let’s weave interesting information and offer fresh perspectives to the readers.
Table of Content
The Art and Science of Crafting Your Own Vaping Experience: A Comprehensive Guide to DIY E-Liquid

The burgeoning world of vaping has seen a significant rise in the popularity of crafting e-liquid at home. This practice, often referred to as "DIY vaping," empowers individuals to customize their vaping experience, tailoring it to their preferences and potentially saving money in the process. This comprehensive guide delves into the intricacies of DIY e-liquid creation, exploring its benefits, potential challenges, and essential safety considerations.
Understanding the Fundamentals: Deconstructing E-Liquid
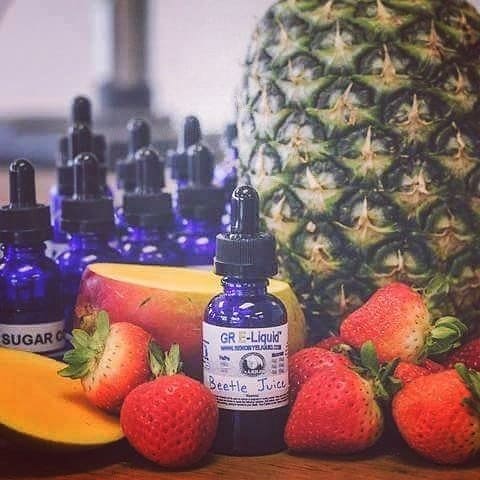
E-liquid, the heart of any vaping experience, is a complex mixture of several key ingredients:
- Base Liquid: Typically a blend of propylene glycol (PG) and vegetable glycerin (VG), these form the foundation of the liquid, acting as solvents for the other components. PG offers a smoother throat hit and faster vapor production, while VG produces thicker clouds and a sweeter taste.
- Nicotine: A stimulant derived from tobacco, nicotine is optional in e-liquid and comes in varying strengths.
- Flavorings: These are the soul of the e-liquid, adding the desired taste and aroma. They can range from simple fruit flavors to complex tobacco blends and even savory options.
The Benefits of DIY E-Liquid
Beyond the control it offers over flavor profiles and nicotine strengths, crafting e-liquid at home presents several advantages:
- Cost Savings: Purchasing pre-made e-liquid can be expensive, especially for those who vape frequently. DIY allows for substantial cost reductions by buying ingredients in bulk and creating larger quantities.
- Customization: The ability to precisely control the ratio of PG/VG, nicotine strength, and flavor combinations grants unparalleled customization. This allows for tailored vaping experiences, catering to individual preferences and potentially achieving a more satisfying experience.
- Ingredient Transparency: DIY e-liquid eliminates the uncertainty of pre-made products. By choosing ingredients individually, vapers can ensure they are using high-quality and safe components.
- Creative Expression: DIY e-liquid creation is an art form, allowing for experimentation and the development of unique flavor profiles. This creative process can be immensely satisfying for individuals who enjoy crafting and experimenting.
Navigating the Process: A Step-by-Step Guide to DIY E-Liquid
Creating your own e-liquid involves a series of steps, each requiring precision and attention to detail. Here’s a breakdown of the process:
-
Gathering Supplies: Begin by gathering the necessary equipment and ingredients:
- Base Liquid: Choose the desired PG/VG ratio, available in various bottles and concentrations.
- Nicotine: If desired, obtain nicotine in liquid form, carefully selecting the appropriate strength.
- Flavorings: Select your desired flavors, ensuring they are specifically formulated for e-liquids.
- Bottles: Use glass or plastic bottles with dropper tops for storing and dispensing your e-liquid.
- Syringes: Use needle-less syringes to accurately measure ingredients.
- Gloves: Wear gloves to protect your hands from nicotine and flavorings.
- Scales: Use a precise scale to weigh ingredients accurately.
- Mixing Container: A clean, sanitized container for mixing your e-liquid.
-
Calculating Your Recipe: Before mixing, determine the desired ratio of ingredients. This involves considering:
- PG/VG Ratio: This affects the throat hit, vapor production, and overall mouthfeel. Experiment with different ratios to find your preference.
- Nicotine Strength: Choose a strength that aligns with your vaping habits and tolerance.
- Flavor Concentration: This varies depending on the individual flavoring, with manufacturers typically providing recommended percentages.
-
Mixing Your E-Liquid: Follow these steps for a safe and successful mixing process:
- Cleanliness: Thoroughly clean and sanitize all equipment and surfaces to prevent contamination.
- Measure Carefully: Use syringes to accurately measure each ingredient, ensuring precise proportions.
- Start with Base Liquid: Pour the desired amount of base liquid into your mixing container.
- Add Nicotine: If using, carefully add the calculated amount of nicotine to the base liquid.
- Add Flavorings: Slowly add the flavorings, mixing thoroughly after each addition.
- Steep Your E-Liquid: After mixing, allow the e-liquid to steep for a period of time, typically 2-4 weeks. This allows the flavors to meld and mature, resulting in a more balanced and enjoyable taste.
-
Steeping Your E-Liquid: This crucial step involves storing your e-liquid in a cool, dark place to allow the flavors to develop. The steeping period can range from a few days to several weeks, depending on the complexity of the flavor profile.
-
Testing and Adjusting: Once the e-liquid has steeped, test it in your vaping device. Adjust the flavor profile or nicotine strength as needed to achieve your desired experience.
Safety First: Essential Precautions for DIY E-Liquid
Crafting e-liquid at home requires adherence to safety measures to ensure a positive experience and minimize potential risks:
- Nicotine Handling: Nicotine is a potent substance and must be handled with extreme care. Always wear gloves and avoid contact with skin and eyes. Store nicotine in a secure location, out of reach of children and pets.
- Flavoring Selection: Choose flavorings specifically designed for e-liquids, as some food-grade flavorings may contain harmful chemicals unsuitable for vaping.
- Ventilation: Always work in a well-ventilated area to avoid inhaling vapors from ingredients.
- Storage: Store your e-liquid in a cool, dark place, away from direct sunlight and heat.
- Labeling: Clearly label all bottles with the ingredients, nicotine strength, and date of creation.
- Proper Disposal: Dispose of empty bottles and unused ingredients responsibly, following local regulations.
Addressing Common Concerns and FAQs
Q: What are the potential risks associated with DIY e-liquid?
A: The primary risk is associated with handling nicotine, which can be harmful if not handled correctly. Improper storage, accidental ingestion, or skin contact can lead to health issues. Additionally, using non-e-liquid-grade flavorings can introduce harmful chemicals into the vaping experience.
Q: Is DIY e-liquid safe to vape?
A: When done correctly, using high-quality ingredients and following safety guidelines, DIY e-liquid can be safe to vape. However, it’s essential to research and select ingredients carefully, ensuring they are specifically designed for vaping.
Q: Can I make my own e-liquid without nicotine?
A: Absolutely! Many people enjoy crafting e-liquid without nicotine, focusing on flavor profiles and enjoying the vaping experience without the stimulant.
Q: How long does homemade e-liquid last?
A: Properly stored e-liquid can last for several months, though the flavor intensity may diminish over time.
Q: Can I share my homemade e-liquid with others?
A: While sharing homemade e-liquid is possible, it’s crucial to ensure that the recipient is aware of the ingredients and nicotine strength. It’s always best to err on the side of caution and consult with individuals before sharing.
Tips for Success: Elevating Your DIY E-Liquid Experience
- Experiment with Flavor Combinations: Don’t be afraid to try different flavors and ratios to create unique and satisfying blends.
- Keep Detailed Records: Track your recipes, steeping times, and flavor profiles to replicate successful blends and refine your creations.
- Seek Feedback: Share your e-liquid with others and gather feedback to improve your recipes and identify areas for improvement.
- Join Online Communities: Connect with other DIY vapers for inspiration, advice, and shared experiences.
- Practice Patience: Steeping and experimenting takes time, so be patient and enjoy the process of crafting your perfect vaping experience.
Conclusion: Embracing the Art of Personalized Vaping
Crafting e-liquid at home empowers individuals to control their vaping experience, tailoring it to their preferences and potentially saving money in the process. While DIY e-liquid creation requires a commitment to safety, precision, and patience, it rewards vapers with a deeper understanding of their preferred flavors, nicotine strengths, and the overall vaping experience. By carefully selecting ingredients, following safety guidelines, and embracing the creative process, individuals can unlock a world of personalized vaping possibilities.


Closure
Thus, we hope this article has provided valuable insights into The Art and Science of Crafting Your Own Vaping Experience: A Comprehensive Guide to DIY E-Liquid. We hope you find this article informative and beneficial. See you in our next article!